Strawberry Shortcake Icebox Cake
Highlighted under: Pastry & Sweets
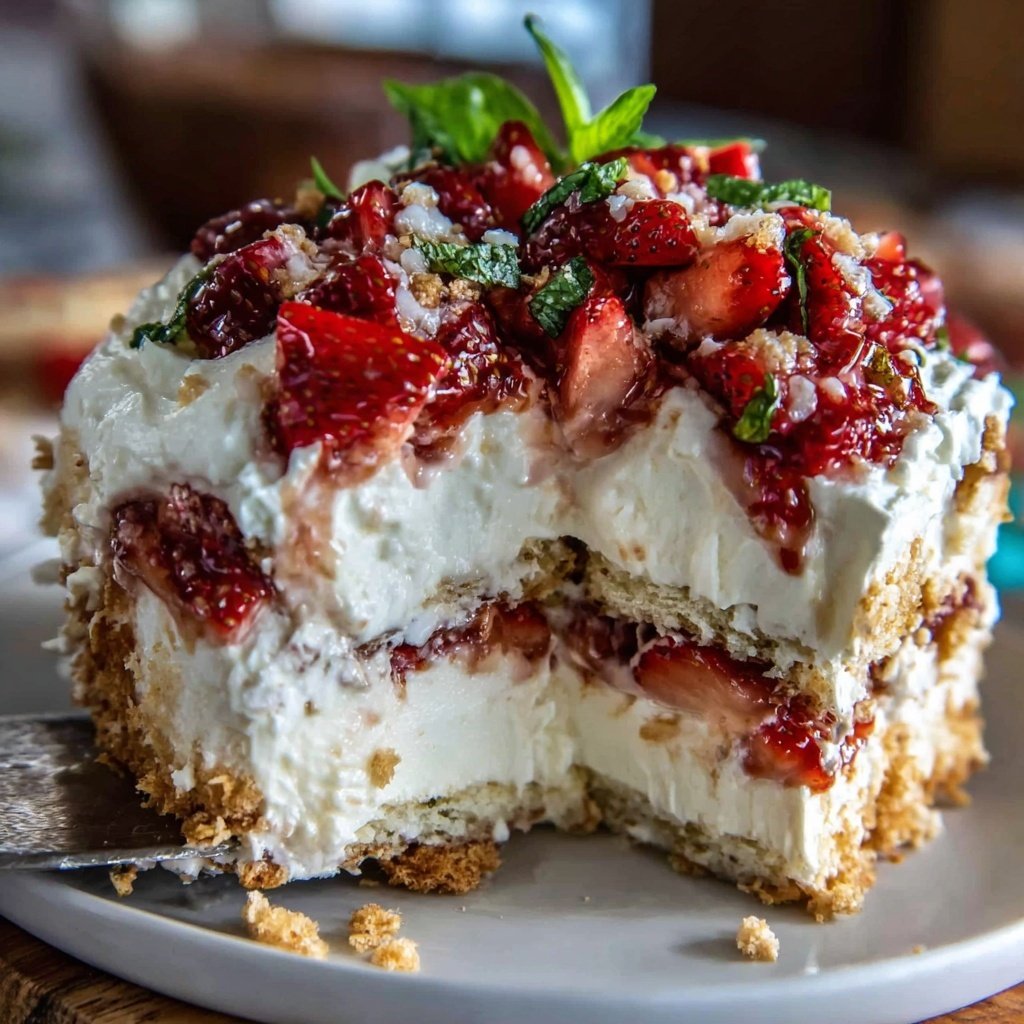
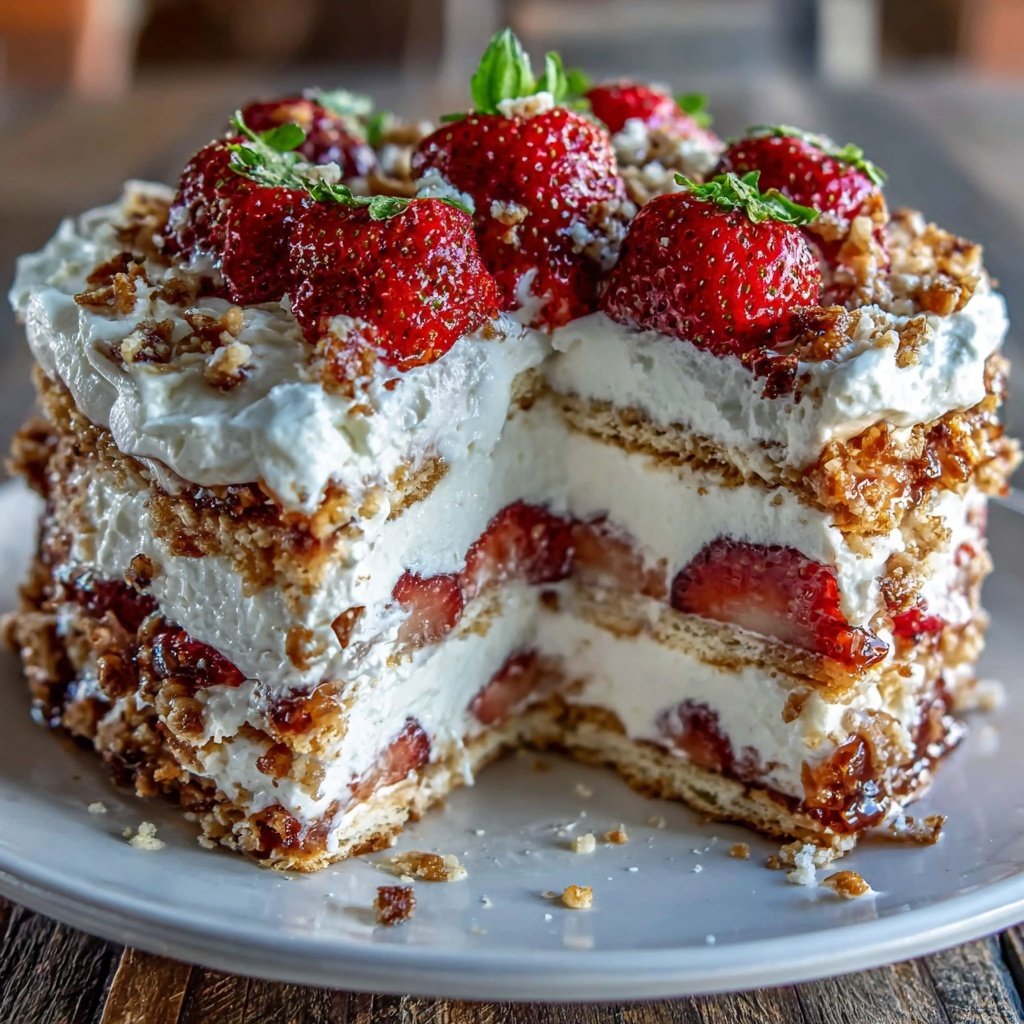
I absolutely adore making Strawberry Shortcake Icebox Cake—it’s a dessert that brings a delightful burst of summer flavors right into my kitchen! The combination of layers of tender cake, whipped cream, and fresh strawberries creates an irresistible treat that everyone loves. Plus, it’s incredibly easy to assemble and requires no baking, making it perfect for warm days when I want something sweet without the heat of the oven. This cake is a crowd-pleaser that I can whip up in no time and enjoy all summer long.
When I first made this Strawberry Shortcake Icebox Cake, I was amazed by how simple yet flavorful it turned out. The icebox method means the longer it sits, the better the flavors meld together! Using freshly picked strawberries elevates the taste while allowing me to enjoy the fruits of my labor—all without turning on the oven.
One tip I discovered is to let the cake chill overnight. This not only improves the texture, making it wonderfully creamy, but it also allows the strawberries to infuse their sweetness into the whipped cream. Trust me; you won’t regret the extra wait!
Why You Will Love This Recipe
- Light and refreshing flavors that scream summer
- Super easy to prepare with no baking required
- Perfectly creamy texture that will impress your guests
Perfecting the Layers
When assembling the Strawberry Shortcake Icebox Cake, it's crucial to ensure each layer is evenly distributed to maintain balance in flavor and texture. I recommend using a serrated knife to slice the cooled vanilla cake into even layers; this will help prevent crumbling. Aim for about 1-inch thick slices for optimal layering. As you place the layers in the dish, gently press down to eliminate air pockets that can disrupt the overall structure and make slicing more difficult later.
For the whipped cream layer, make sure to whip the cream until it achieves stiff peaks. This ensures it holds its shape and provides a velvety mouthfeel that contrasts beautifully with the tender cake and juicy strawberries. If you notice the cream looking grainy or starting to separate, stop whipping immediately to avoid over-whipping, which can lead to a butter-like consistency. If this happens, you can gently fold in a small amount of heavy cream to salvage it.
Choosing the Perfect Strawberries
Opt for ripe, fresh strawberries as their natural sweetness is vital to the success of this dessert. Look for berries that are vibrant red, firm to the touch, and free from any soft spots or mold. To enhance their flavor, I recommend macerating the sliced strawberries in a teaspoon of sugar for about 15-30 minutes before assembly. This process will not only draw out their juices but also create a delightful syrup that seeps into the cake layers, amplifying the overall flavor profile.
If fresh strawberries are out of season or unavailable, you can substitute them with thawed frozen strawberries. However, keep in mind that frozen berries tend to be softer and release more liquid when thawed. To counteract this, strain away excess juice before layering to maintain the cake's structure. As a variation, you can also mix in other berries like blueberries or raspberries for a colorful twist on the classic recipe.
Ingredients
Gather the following ingredients to create your Strawberry Shortcake Icebox Cake:
For the cake
- 1 box of vanilla cake mix
- 2 large eggs
- 1 cup of water
- 1/3 cup of vegetable oil
For the filling
- 2 cups of heavy whipping cream
- 1/2 cup of powdered sugar
- 1 teaspoon of vanilla extract
- 3 cups of fresh strawberries, sliced
Make sure you have everything before you start assembling your icebox cake!
Instructions
Follow these steps to create your delicious Strawberry Shortcake Icebox Cake:
Prepare the cake
Preheat your oven to 350°F (175°C) and prepare the cake mix according to the package instructions. Once ready, pour the batter into a baking pan and bake for about 25 minutes. Allow it to cool completely before slicing into layers.
Whip the cream
In a large mixing bowl, use an electric mixer to whip the heavy cream until it starts to thicken. Gradually add the powdered sugar and vanilla extract, then continue whipping until stiff peaks form.
Assemble the cake
In a rectangular dish, start by placing a layer of sliced strawberries at the bottom. Then, add a layer of whipped cream, followed by a layer of the cooled cake. Repeat the layers until you reach the top, finishing with a generous layer of whipped cream and extra strawberry slices for decoration.
Chill
Cover the dish with plastic wrap and refrigerate for at least 4 hours, preferably overnight. This will allow the flavors to blend beautifully.
Once chilled, slice and serve your delicious Strawberry Shortcake Icebox Cake!
Pro Tips
- Try adding a few mint leaves for a refreshing twist or use a mix of berries for varied flavors!
Make-Ahead Tips
One of the best aspects of this Strawberry Shortcake Icebox Cake is its make-ahead nature. You can prepare it a day in advance, allowing all the flavors to meld and intensify. In fact, it often tastes better after chilling overnight. Just ensure it’s well-covered to prevent it from absorbing any unwanted odors from the fridge. If you're planning to serve it at a gathering, prepping it the night before can save you valuable time on the day of the event.
If you have leftovers, the cake can be stored in the refrigerator for up to 3 days. However, the texture of the cake layers may become softer over time, so it's best enjoyed within the first couple of days. To extend its shelf life, consider freezing the individual pieces after slicing; simply wrap them tightly in plastic wrap and foil, then store them in an airtight container for up to a month. Thaw them in the fridge overnight when you're ready to enjoy again.
Serving Suggestions
When it's time to serve your Strawberry Shortcake Icebox Cake, present it with flair! For an added touch, you can garnish each slice with a drizzle of chocolate or a sprig of mint for a pop of color. I also enjoy offering a scoop of vanilla ice cream or a dollop of extra whipped cream on the side for those who crave more creaminess. The contrast of the cold ice cream with the cake’s softness can be a delightful experience.
Consider pairing this refreshing dessert with a light summer beverage, such as iced tea or lemonade. The bright flavors of these drinks complement the cake beautifully, making it the perfect treat for outdoor gatherings or picnics. For a fun twist, try making mini versions of the cake in jars for a casual and portable dessert option—just layer the ingredients in small mason jars for an adorable presentation!
Questions About Recipes
→ Can I use frozen strawberries?
Fresh strawberries are best, but you can use frozen if they are thawed and drained well.
→ How long does the cake last in the fridge?
The icebox cake is best enjoyed within 3 days when kept in the fridge.
→ Can I make it gluten-free?
Yes! Substitute the vanilla cake mix with a gluten-free version.
→ What can I serve with this cake?
This cake pairs wonderfully with a scoop of vanilla ice cream or a drizzle of chocolate sauce.
Strawberry Shortcake Icebox Cake
Created by: Maya Richardson
Recipe Type: Pastry & Sweets
Skill Level: Easy
Final Quantity: 8 servings
What You'll Need
For the cake
- 1 box of vanilla cake mix
- 2 large eggs
- 1 cup of water
- 1/3 cup of vegetable oil
For the filling
- 2 cups of heavy whipping cream
- 1/2 cup of powdered sugar
- 1 teaspoon of vanilla extract
- 3 cups of fresh strawberries, sliced
How-To Steps
Preheat your oven to 350°F (175°C) and prepare the cake mix according to the package instructions. Once ready, pour the batter into a baking pan and bake for about 25 minutes. Allow it to cool completely before slicing into layers.
In a large mixing bowl, use an electric mixer to whip the heavy cream until it starts to thicken. Gradually add the powdered sugar and vanilla extract, then continue whipping until stiff peaks form.
In a rectangular dish, start by placing a layer of sliced strawberries at the bottom. Then, add a layer of whipped cream, followed by a layer of the cooled cake. Repeat the layers until you reach the top, finishing with a generous layer of whipped cream and extra strawberry slices for decoration.
Cover the dish with plastic wrap and refrigerate for at least 4 hours, preferably overnight. This will allow the flavors to blend beautifully.
Extra Tips
- Try adding a few mint leaves for a refreshing twist or use a mix of berries for varied flavors!
Nutritional Breakdown (Per Serving)
- Calories: 350 kcal
- Total Fat: 26g
- Saturated Fat: 15g
- Cholesterol: 195mg
- Sodium: 85mg
- Total Carbohydrates: 32g
- Dietary Fiber: 3g
- Sugars: 24g
- Protein: 6g